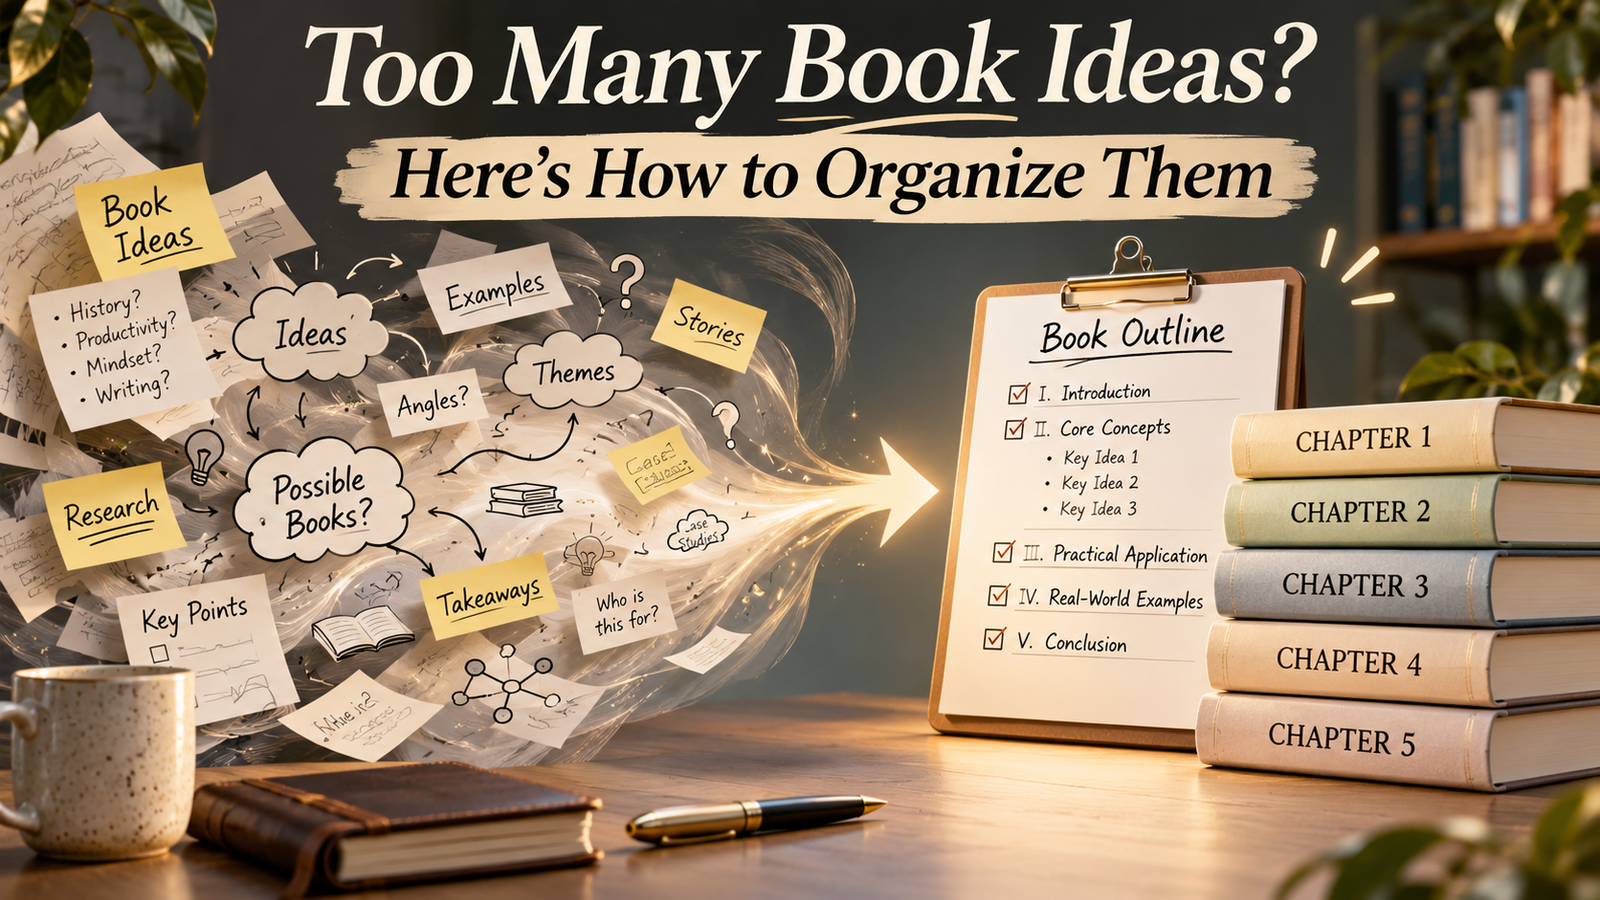
Your book may have started with a single idea. Now it has company: stories you want to tell, a full notebook, research saved on your computer, and sticky notes scattered across your desk. Every new idea adds something to the possibilities, and before long, you’re looking at a collection of material that feels difficult to sort through.
How do you organize those scattered notes into a book outline that you can actually use?
You don’t have to settle every detail before you begin. As you find connections among your ideas, decide what belongs, and arrange your topics in a useful order, a working outline will begin to emerge. It will give you direction while leaving room for discoveries along the way.
Start with the material you already have.
- Where do you begin?
- Which ideas belong together?
- How do you decide what becomes a chapter?
- What do you do with all those wonderful ideas that don’t seem to fit anywhere?
The good news is that you don’t need to figure everything out before you start. Organizing your book is a process of discovering connections, making decisions, and gradually building a structure that guides both you and your reader.
Here’s how to get started.
1. Remember Why You’re Writing This Book
Before you begin sorting through your material, revisit the reason you wanted to write your book in the first place.
What is the central idea you want to explore? What knowledge, experience, or story do you want to share? Most importantly, what do you want your reader to understand, learn, or experience?
Your answers will help you decide which ideas belong in your book.
For example, suppose you’re writing a book to help someone start a home-based business. You’ve collected information about marketing, bookkeeping, choosing a business name, finding customers, and managing employees.
All of those topics might be useful to a business owner. However, if your book is specifically for someone starting a business on a limited budget, detailed information about hiring and managing a large staff may be better saved for another project.
Your book’s purpose provides a way to evaluate the material you’ve gathered.
Think about your intended reader, too. What does that person already know? What questions are they likely to ask? What information will help them move from one topic to the next?
If you’re uncertain about your audience, revisit Who Wants Your Story?and use the Meet Your Future Reader Worksheet to clarify whom you’re writing for.
Once you have a clear picture of your book’s purpose and reader, you’re ready to tackle that growing collection of ideas.
2. Gather Your Ideas to See What You’ve Got
You may have been collecting material for months or even years. Some of it might be carefully organized, while other pieces are hiding in notebooks, computer files, emails, and the occasional scrap of paper.
Your first task is to bring everything together so you can see what you have.
You don’t have to rewrite your notes, check every fact, or decide which chapter each item belongs in. You’re simply gathering the raw material for your book. Choose a method that works with the way you think.
- Mind mapping
If you’re a visual thinker, write your book’s central idea in the middle of a page or digital mind map. Draw branches for related topics, stories, questions, and ideas. For example, a small-business book might have branches for Business Idea, Customers, Money, Operations, and Marketing. Add smaller branches as ideas emerge. Look for connections, such as stories that illustrate the same lesson or questions that share a common theme.
- Index cards and sticky notes
Write one idea, story, or topic on each card or sticky note. Spread them across a table or attach them to a wall. This makes it easy to move ideas around and see relationships without rewriting anything.
- A Word or Google document
Create a document to collect your material, using headings for broad subjects and adding notes, stories, research, or questions beneath them. As your organization develops, you can move material between sections.
- Computer folders
Create one main folder for your book project, with subfolders for notes, research, stories, photographs, and other material. Add folders for specific topics as common themes emerge.
- A notebook or binder
If you prefer paper and pencil, use a notebook or binder with dividers to collect your ideas and keep related information together.
You can also combine methods. For instance, you might use a mind map to explore your ideas, index cards to organize them, and Word to create your outline.
The best method is the one you’ll actually use.
3. Look for Connections and Common Themes
Now that you’ve gathered your material, take a closer look and begin grouping related subjects.
Which ideas seem to belong together? Do several stories illustrate a common point? Are there questions that naturally lead to one another?
Let’s return to our example of a book about starting a small business.
You might discover that your notes fall into five broad groups:
- Choosing and evaluating a business idea
- Understanding your customers
- Setting up the business
- Managing money and daily operations
- Finding customers and marketing your services
These groups give your material an initial structure.
At this stage, they aren’t necessarily chapters. Some may eventually become individual chapters, while others may be large enough to become sections containing several chapters.
If you’re using a mind map, look at the major branches you’ve created. If you’re working with index cards, arrange related cards into piles. If you’re using Word, move related ideas beneath common headings.
You may find that one idea fits into more than one group. That’s fine. Choose the place where it seems most useful for now.
The important thing is to begin seeing how individual pieces connect to the larger purpose of your book.
4. Decide What Belongs in This Book
As you organize book ideas into groups, you’ll need to decide what belongs in this particular book.
You may have collected fascinating research, wonderful stories, and useful information. That doesn’t mean everything belongs in this particular book. As you review each group, ask yourself:
- Does this material support the central purpose of my book?
- Will it help my intended reader?
- Does it add something important that isn’t already covered?
- Is it necessary here, or would it fit better somewhere else?
You may discover that several stories illustrate the same point. Choose the one that communicates it most effectively. You may also find interesting information that leads your reader away from the book’s main subject.
Create a Save for Later folder for these items.
This is especially helpful if you find it difficult to let go of an idea. You’re not throwing anything away. You’re simply recognizing that it may belong in another article, another book, or a future project.
A book becomes easier to organize when you know what you’re including and why.
5. Arrange Your Ideas Around the Reader’s Journey
You’ve identified your major topics. Now it’s time to consider the order in which your reader should encounter them.
Imagine someone opening your book for the first time. What do they need to know before they can understand the next subject? What questions will arise as they read? What sequence will make the information easiest to follow?
The answer depends on the kind of book you’re writing.
- A how-to book might begin with basic concepts and progress through increasingly detailed instructions.
- A memoir might follow a chronological path, beginning with early experiences and moving through significant events. Alternatively, it might organize memories around important themes.
- A book sharing professional expertise might begin by explaining a problem, exploring the factors behind it, and guiding readers through possible solutions.
There is no universal structure that works for every book.
For our small business example, readers would probably benefit from choosing and evaluating their business idea before learning how to market it. They would need to understand their potential customers before developing a marketing strategy.
That’s a logical progression based on what the reader needs to know.
If you’re using cards or sticky notes, move them around. If you’re using Word, rearrange your headings. Then read through the sequence as though you’re encountering the material for the first time.
Does one subject prepare the reader for the next? Is anything introduced before it has been explained? Are there gaps that need to be filled?
You may discover that you need another topic or that two groups would work better together.
That’s exactly what this stage can reveal.
6. Turn Your Groups Into a Preliminary Book Outline
Once you’ve organized your book ideas into groups and arranged them in a logical sequence, you’re ready to create a preliminary outline. This working plan identifies the main subjects you intend to cover and the order in which you’ll present them.
You don’t need polished chapter titles or detailed descriptions. You just need enough structure to guide your writing.
Let’s use our small-business example to see how broad groups of ideas can become a possible table of contents.
Working Title: Starting a Small Business
Part 1: Finding Your Direction
Chapter 1: Discovering Your Business Idea
Chapter 2: Evaluating Whether Your Idea Will Work
Chapter 3: Understanding Your Future Customers
Part 2: Getting Your Business Ready
Chapter 4: Choosing a Business Structure
Chapter 5: Understanding Startup Costs
Chapter 6: Setting Up Your Business Operations
Part 3: Finding and Serving Customers
Chapter 7: Creating Your Marketing Plan
Chapter 8: Finding Your First Customers
Chapter 9: Building Customer Relationships
Part 4: Keeping Your Business Moving
Chapter 10: Managing Your Money
Chapter 11: Reviewing Your Progress
Each chapter has a purpose and a place within the larger book.
You can take this process one step further by listing the ideas, stories, examples, and questions you want to cover beneath each chapter heading. For example:
Chapter 8: Finding Your First Customers
- Identifying where potential customers spend their time
- Introducing your business to people you already know
- Building relationships through networking
- Using referrals and recommendations
- Choosing affordable ways to reach new customers
These points can eventually become subheadings or sections within the chapter.
You’ve now created a preliminary outline that shows both the direction of your book and the material you’ll use to develop it.
7. Expect Your Outline to Change
Think of your preliminary outline as a working guide that will develop along with your manuscript. Once you begin writing, you may find that a chapter needs more space than you expected, two topics belong together, or a favorite story would be more effective in another section.
You may also uncover questions that call for additional research or discover a missing topic that would help your reader understand what comes next. These changes are a natural part of shaping a book, and your outline makes them easier to manage.
As you make adjustments, consider how each change affects the reader’s journey. Does the sequence still make sense? Does each chapter build on what came before it? Keeping your outline nearby gives you a way to see the bigger picture while you concentrate on writing one section at a time.
With that flexibility in mind, you can move forward knowing that your outline provides direction while leaving room for your book to grow.
Your Book Is Taking Shape
Think back to the notes, stories, research, and ideas you gathered at the beginning. What once seemed like a jumble of possibilities now has a clearer purpose and a place in your book. By finding connections, choosing what belongs, and arranging your topics around your reader’s needs, you’ve created a starting structure for your manuscript.
You can use that structure to focus on one chapter at a time, confident that each piece contributes to the whole. As your writing progresses, you’ll continue refining the outline and discovering how your ideas fit together.
Ready to put your own ideas in order? Download the Organize Your Book Ideas worksheet to sort your material into themes, decide what to save for later, and sketch a preliminary chapter outline. Start with a few notes or one group of ideas, then build from there.
You don’t need to have every chapter figured out today. A workable outline gives you a place to begin and the freedom to discover the rest as you write.